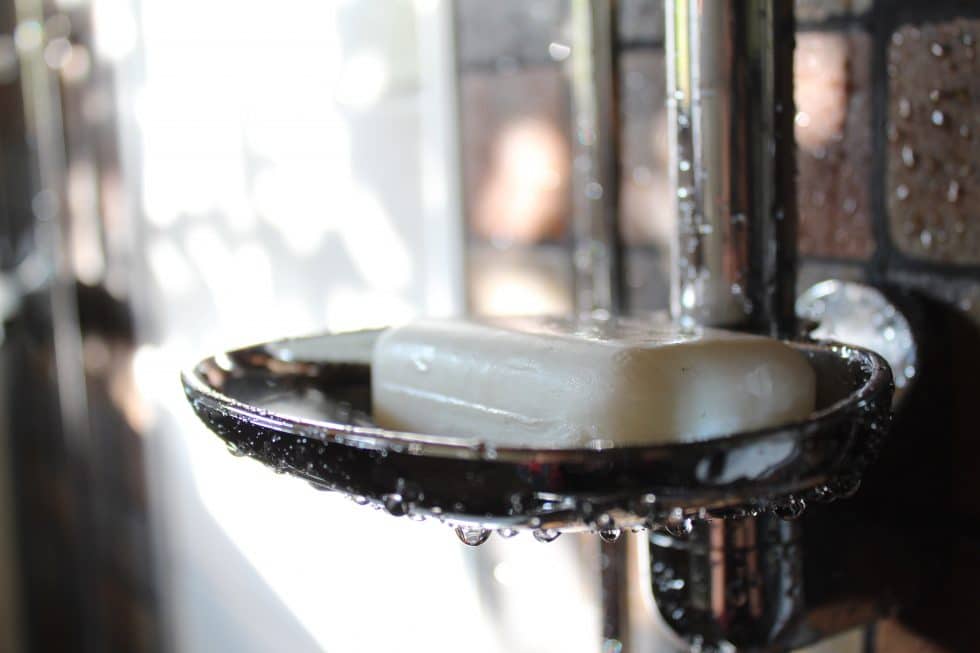
Enjoying a refreshing shower at the end of a tiring day is one of the best things in life while hearing slow, steady dripping sounds from your showerhead is one of the most irritating things that can happen to you.
There are many reasons why your shower head is leaking. One reason is that it could be clogged. Lime or other mineral deposits accumulate in the holes of your showerhead which end up clogging your shower head.
Another reason is that the washer or ring in your shower has become worn out. A problem with your washer can lead to water leaking through a crack which causes your shower head to drip in fits and starts.
The good news is that you can fix your leaking shower head problems so that you stop hearing those annoying dripping sounds and not waste water as well.
Here are some of the things you can do to stop your shower head from dripping.
- Clean/Unclog your Showerhead
If water from your showerhead is coming out unevenly, it may be clogged. To fix this, try cleaning your showerhead and see if it solves your problem.
The first thing you need to do is to turn off the water supply and uninstall the showerhead. If possible, remove the faceplate so that you can have access to the inner parts of the showerhead. Next, soak the faceplate or entire shower head in white vinegar for six to eight hours. This will help dissolve any mineral build up in the holes of your showerhead.
After eight hours, rinse the showerhead or faceplate. Use a toothpick or pin to loosen any remaining build up in the holes then brush the faceplate with a stiff brush to remove the debris.
Reattach the shower head and turn on your shower. Hopefully, this fixes your problem. If you still have a leaking showerhead, then you might have to consider buying a new showerhead or getting professionals to help you.
- Replace a Washer
The rubber washer or O-ring tends to get worn over time which can also cause your showerhead to leak. You can find washers or O-rings in the showerhead and behind the taps or levers that you use for turning on the shower.
To replace the rubber washer in your faucet, turn off the water supply first then unscrew it from the shower. You can find the screw hidden behind a decorative cap. Remove the worn washer using a deep socket wrench then replace it with a new one.
Install the showerhead again and check if water has stopped dripping. If it’s not leaking anymore, you successfully solved your problem, and you don’t have to do anything else. Otherwise, you will have to look at other washers. Try replacing the taps or levers in your shower and see if having new replacement parts will fix your problem.
Make sure to replace your washers regularly to keep it in good condition.
- Replace the Cartridge Valve
The cartridge valve can be found in the water faucet handle, which is the single-arm handle that you can push to initiate cold or hot water flow. Cartridge valves can also become damaged over time.
Removing a cartridge valve may depend on the kind of water faucet handle you have. Some cartridge valves can be easily removed with pliers while others may need specialised tools.
Remove and replace the cartridge with a new and identical model. Put the tap back together and turn on the shower to see if your showerhead is not dripping water anymore.
- Replace the Diverter Valve
The diverter valve is the lever or knob that you use to switch the direction of the water from the faucet to the showerhead.
Sometimes, the diverter valve can be found on the faucet itself. If you have problems with the diverter valve of your shower, how you repair it will depend on the kind of diverter valve that you have:
- Lever or Knob Style
You need to remove the faucet handle then take apart the valve assembly and remove the diverter valve. If the valve is worn or damaged, replace with a new one. If not, you can clean with vinegar.
- Faucet-Located Diverter
You may need to unscrew a plate under the faucet or unscrew the entire faucet to see the diverter valve. Once disassembled, find the rubber washer and reassemble again.
Remember that prevention goes a long way. To save you from the hassle of dealing with a leaky shower head in the future, make sure to do regular maintenance on it. If your showerhead is still leaking even after trying the various repair tips we shared, you might need to contact professionals who can efficiently solve your problem.